
|
|||||||||||||
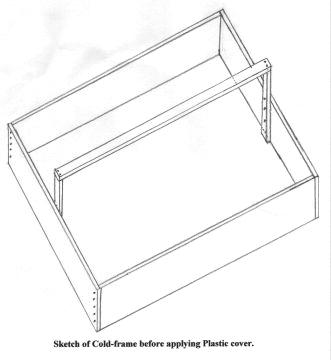
I�m sure there are many good ways to make a cold frame. This is the way I have been doing it since I got serious about growing Giant Pumpkins in 1984. I�m still using the one made that year, but will need to make a new one soon. You can make one of any size. | |||
| |||
I have several smaller cold frames that are approximately 3 feet wide and 5 feet long that I use to start a lot of garden plants. The sides of these are either 1 x 8 or 2 x 8 lumber. The end pieces on these only stick up about 6 inches to support the peak. They are light enough that I remove them to work inside. | |||
It gets very hot under these cold frames on sunny days. When plants start to emerge, I put a long piece of Duct tape on both sides of the peak. Use a razor blade to cut several slits thru the tape and plastic so the hot air at the peak can escape. | |||
Questions or comments? Send mail to Ken AT bigpumpkins.com.
Copyright © 1999-2026 BigPumpkins.com. All rights reserved.